


After a Colorado winter, it’s common for a deck to look older than it really is. Dirt, mildew, weathered stain, and months of sun can leave the surface looking gray even when the boards are still in good condition. Cleaning can bring the wood back to life, but using too much pressure can leave permanent marks that are harder to fix than the dirt itself.
Power washing is often part of regular deck maintenance, especially before staining or sealing. A well-maintained deck also helps protect your home’s value, and removing mold or mildew can improve the areas where your family spends time outdoors.
Many homeowners tackle outdoor upkeep like this alongside indoor updates. If worn or outdated cabinets are next on your list, our cabinet painting services in Littleton are worth a look too.
Power Washing vs. Pressure Washing: Is There a Difference?
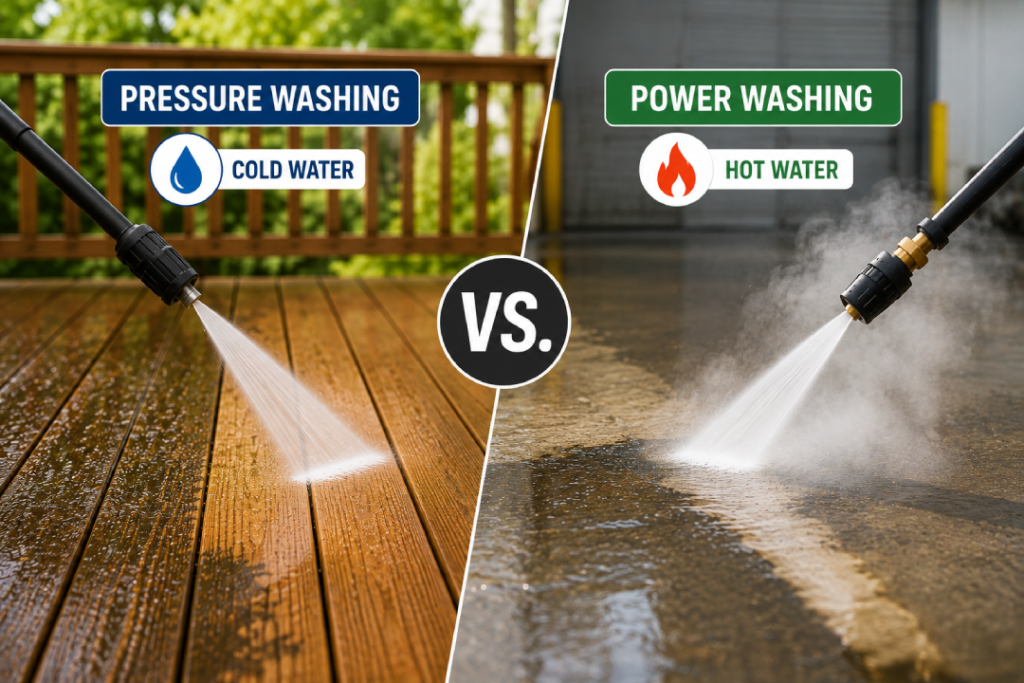
The terms power washing and pressure washing are often used interchangeably, but there is a small difference.
Pressure washing uses high-pressure cold water to remove dirt, mildew, algae, and loose debris. This is the method most homeowners use when cleaning a deck.
Power washing uses heated water along with pressure. Hot water is more common in commercial cleaning where grease, oil, or heavy buildup needs to be removed.
For wood decks, the cleaning process is generally the same regardless of which term people use. Throughout this guide, “power washing” and “pressure washing” refer to the careful use of a pressure washer to clean the wood without damaging it.
What You Need Before You Start Deck Cleaning
You don’t need commercial equipment to clean a wood deck. In most cases, a pressure washer with adjustable pressure and the right nozzle will do the job. If you’d rather hand it off, our deck pressure washing expert in Littleton take care of the whole process for you. Using too much pressure causes more problems than using too little.
Before you begin, gather:
- Pressure washer: An electric model rated between 1,500 and 2,000 PSI is suitable for most wood decks. If you’re using a gas-powered machine, lower the pressure before you start.
- 25° green fan tip: A good choice for general cleaning. Avoid using a 0° red or 15° yellow nozzle on wood, as they can leave permanent marks.
- Wood-safe deck cleaner: Choose a cleaner that’s made for the type of dirt you’re removing, whether it’s mildew, algae, or general grime.
- Pump sprayer: Makes it easier to apply deck cleaner evenly.
- Stiff-bristle brush: Useful for corners, steps, and around balusters where the pressure washer can’t reach easily.
- Safety gear: Safety glasses, hearing protection, gloves, and sturdy work boots.
- Drop cloths or plastic sheeting: Protect nearby plants, siding, outdoor furniture, and light fixtures from overspray.
If you’re cleaning a large deck, a surface cleaner attachment can save time on wide, flat areas. A standard spray wand gives you better control around railings, stairs, and other detailed areas.
If you’re renting a pressure washer, ask for one with adjustable PSI. Being able to reduce the pressure is often more important than having the most powerful machine.
Also Read :
What to Do Before You Power Wash
Spend a few minutes inspecting the deck to choose the right cleaning method and avoid damaging the wood.
Inspect the Wood First
Walk the deck and look closely at the surface. Check for loose boards, popped nails, cracked boards, soft spots, and rust stains around older fasteners.
Pay attention to areas that stay damp, such as around planters, downspouts, or shaded corners. That’s often where mildew starts to grow and where wood begins to wear first.
If a board feels soft underfoot or has started to rot, cleaning won’t solve the problem. It’s usually better to repair or replace damaged boards before washing the deck.
When Not to Power Wash
Power washing isn’t the right choice for every deck.
If the wood is badly rotted, heavily splintered, or has deep cracks, high pressure can make the damage worse. The same applies to some older composite decks where the surface has already started to wear.
When you’re not sure how the wood will react, test a small area first. It’s much easier to adjust the pressure than repair a section that’s been gouged.
Clear and Protect the Area
Remove furniture, grills, planters, and anything else sitting on the deck. Sweep away leaves, pine needles, and loose dirt so they don’t get in the way once you start cleaning.
Cover nearby plants, exterior outlets, and light fixtures before applying cleaner or using the pressure washer.
Match the Cleaner to the Contaminant
Not every stain comes off with the same cleaner.
A cleaner made for mold and mildew works better on shaded areas where moisture tends to collect. Grease around a grill often needs a different product, while tree sap may require a cleaner designed to break down resin.
Bleach is a common recommendation, but it isn’t always the best one. It can affect nearby landscaping and may lighten the wood unevenly. In most cases, a cleaner made specifically for wood decks gives more consistent results.
Once the deck has been inspected, cleared, and treated with the right cleaner, you’re ready to start washing.
How to Pressure Wash a Deck: Step by Step
Once the deck is clean of furniture and loose debris, the actual washing doesn’t take long. The key is letting the cleaner do most of the work and using only as much pressure as the wood needs.
Apply the Deck Cleaner First
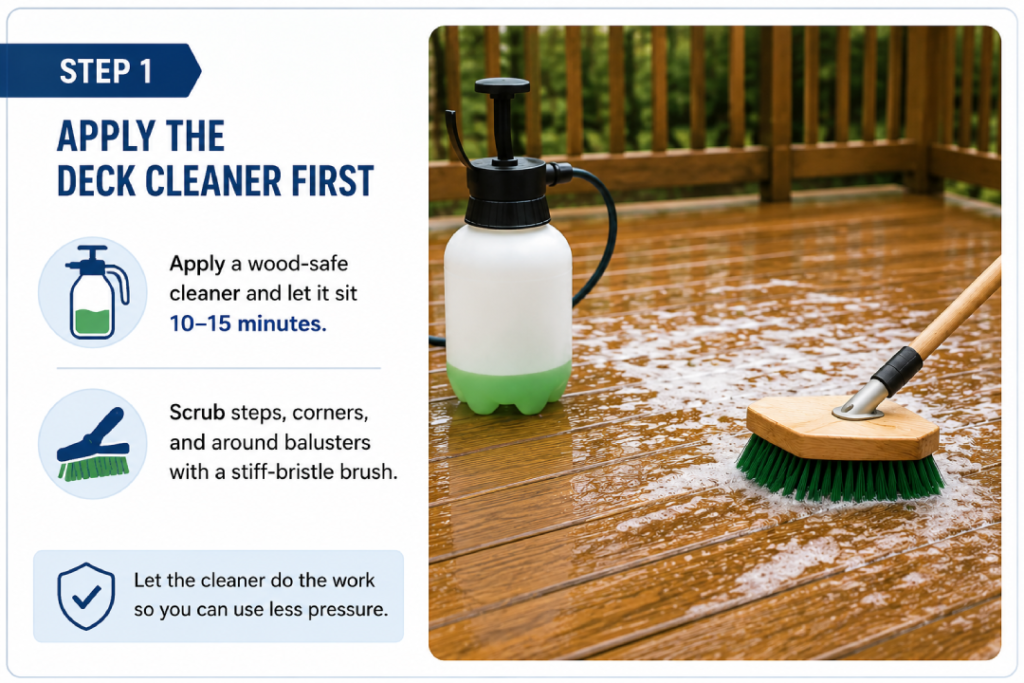
Start with a wood-safe cleaner. In most cases, it will loosen the dirt enough that you won’t need to rely on high pressure. Let the cleaner sit for 10 to 15 minutes, or follow the directions on the label. If it starts to dry, lightly mist it with water.
Use a stiff-bristle brush on steps, corners, and around balusters where dirt and mildew tend to collect. A little extra time here usually means you won’t need as much pressure later.
Test a Small Area First
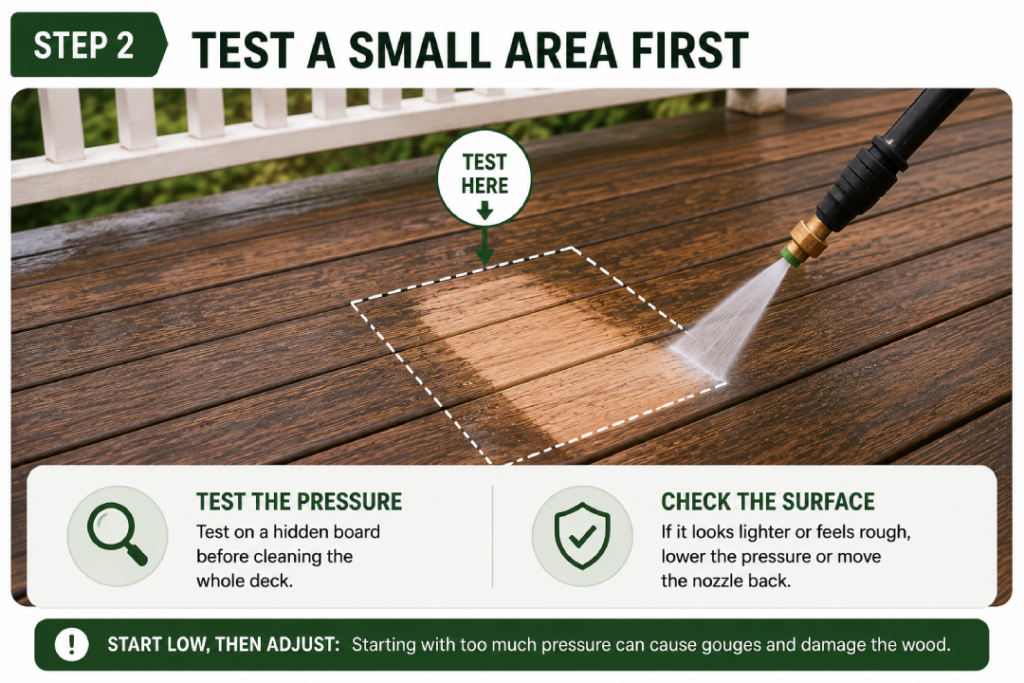
Before cleaning the whole deck, test the pressure on a board that’s out of sight.
If the surface looks lighter than the surrounding wood or starts to feel rough, back the nozzle away or lower the pressure. Most gouges happen in the first few minutes because the pressure is set too high from the start.
Pressure Washer Settings
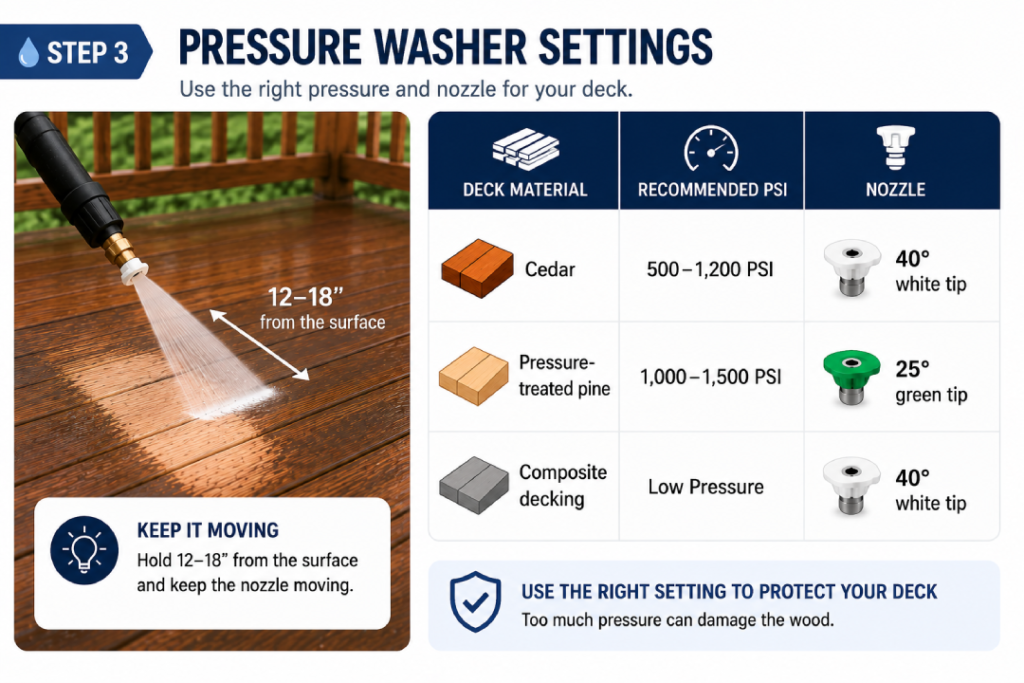
Different decking materials can handle different amounts of pressure.
| Deck Material | Recommended PSI | Nozzle |
| Cedar | 500–1,200 PSI | 40° white tip |
| Pressure-treated pine | 1,000–1,500 PSI | 25° green tip |
| Composite decking | Follow the manufacturer’s recommendations | Low pressure or 40° white tip |
Hold the nozzle about 12 to 18 inches from the surface and keep it moving. If you have to hold the spray in one spot to remove a stain, the cleaner probably needs more time to work.
Wash With the Grain
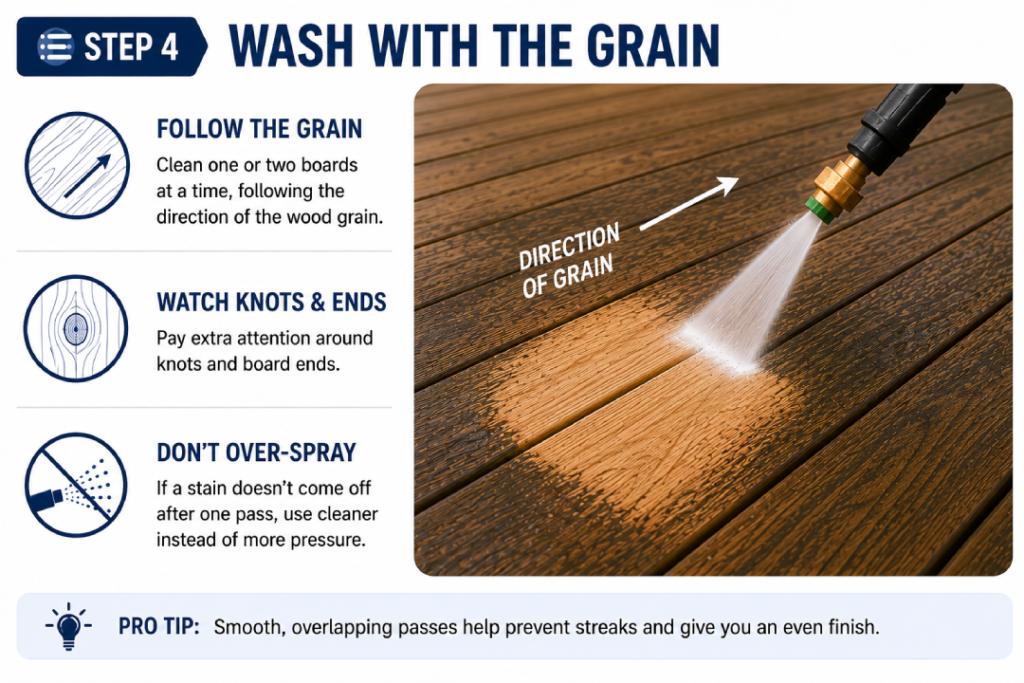
Clean one or two boards at a time, following the direction of the wood grain. Use smooth, overlapping passes to avoid leaving light and dark streaks across the deck.
Pay a little more attention around knots and board ends. Those areas often react differently to pressure and can show marks before the rest of the board does.
If a stain doesn’t come off after one pass, don’t keep spraying the same spot. A second application of cleaner is usually a better choice than more pressure.
Final Rinse
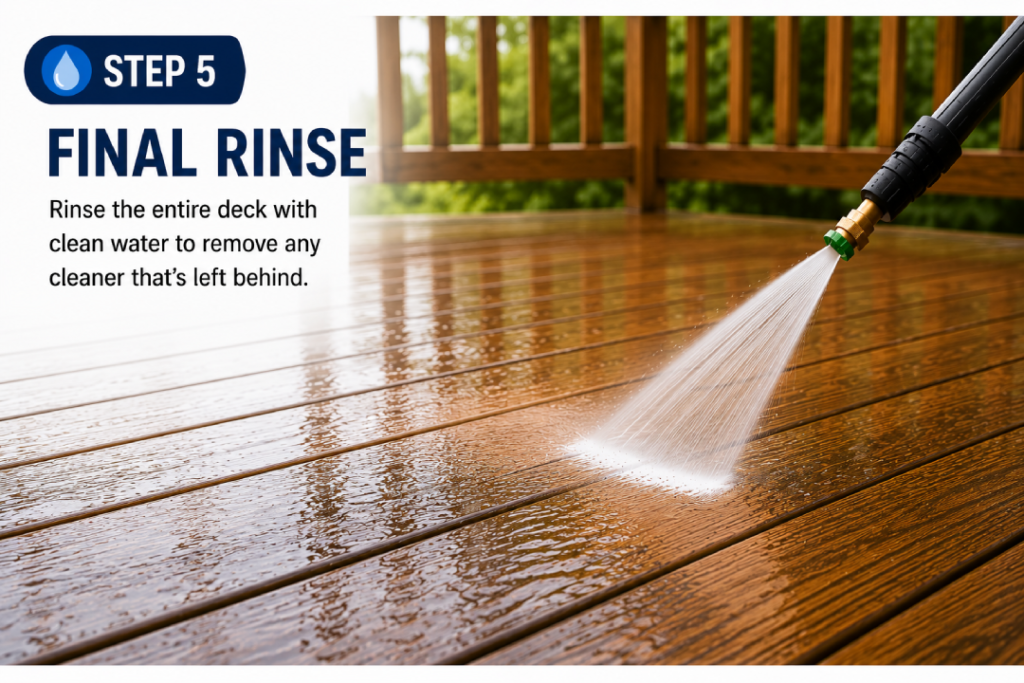
Rinse the entire deck with clean water to remove any cleaner that’s left behind.
If you’re planning to stain or seal the deck, a clean surface gives the finish a better chance to soak into the wood evenly. Once the deck has dried, you’ll have a much better idea of whether it’s ready for stain or if it needs a little more preparation first.
What to Do After Power Washing
The deck may look clean when you’re done washing it, but don’t rush into stain or sealer yet. The wood needs time to dry before you decide what comes next.
Let the Wood Dry
Most decks need 24 to 48 hours of dry weather before they’re ready for stain or sealer. Cooler temperatures, shade, or recent rain can extend that time.
The wood should feel dry, not just on the surface but between the boards as well. Applying stain too soon can trap moisture and affect how evenly the finish absorbs.
Check the Surface
Once the deck is dry, take another walk across it.
Look for any remaining mildew, rust stains, or areas where dirt is still trapped in the grain. It’s also a good time to check for raised wood fibers, sometimes called wood fuzzing. This can happen if the pressure was too high or the nozzle was held too close to the surface.
If the wood feels rough, light sanding or a wood brightener may be needed before staining.
Decide When to Stain or Seal
A clean deck isn’t always ready to stain the same day.
In Colorado, it’s usually best to stain during a stretch of mild, dry weather. Try to avoid applying a finish just before rain or freezing temperatures, as both can affect how well it cures.
Once the wood is dry, it’s much easier to tell whether it’s ready for stain or needs a little more preparation first.
How to Power Wash a Deck Without Removing the Stain
If the stain is still in good condition, the goal is to clean the surface without washing the finish away. That usually means using less pressure and letting the cleaner do more of the work.
Start with a pressure setting between 1,000 and 1,200 PSI and use a 40° white nozzle. Keep the wand at least 18 inches from the surface and work with smooth, even passes. If the stain begins to lighten, move the nozzle farther away or reduce the pressure.
Always test a small area first, especially if the stain has been on the deck for several years. Older finishes rarely wear evenly, so one board may react differently than the next.
Avoid stopping in one spot or making repeated passes over the same area. If dirt doesn’t come off the first time, apply another coat of cleaner instead of increasing the pressure.
If large sections of stain come off during cleaning, it’s usually a sign that the finish has reached the end of its life. In that case, the deck may need to be stripped or fully re-stained rather than cleaned alone.
Trust Your Deck Restoration to the Experts
By the time you’ve inspected the deck and cleaned the surface, you’ll usually have a good idea of its condition. If there’s still any doubt about what comes next, that’s often the right time to have someone take a look.
That’s how we approach every project at Venezia’s Finishing Touch. We start with the condition of the wood, explain what we see, and recommend the next step based on the deck in front of us. If you’re looking for deck cleaning in Littleton, we’re here to help you figure out what your deck needs next.
Frequently Asked Questions
Q1. Will power washing ruin my deck?
Not if it’s done with the right pressure and technique. Most damage happens when the pressure is too high, the wrong nozzle is used, or the spray is held in one place for too long.
Q2. How often should I power wash my deck?
For most homes, once a year is enough. Decks under heavy tree cover or in damp, shaded areas may need cleaning more often because mildew and algae tend to build up faster.
Q3. Can I use bleach on my deck?
Bleach can remove some stains, but it isn’t usually the best choice for routine deck cleaning. A wood-safe deck cleaner is less likely to affect nearby plants or leave the wood looking uneven.
Q4. Why does my deck feel fuzzy after washing?
That’s called wood fuzzing. It happens when too much pressure raises the wood fibers. Light sanding is often enough to smooth the surface before staining.
Q5. How soon can I stain after power washing?
Wait until the wood is completely dry. In most cases, that’s 24 to 48 hours, although cooler weather or shade can make it take longer.
Q6. What’s the best eco-friendly deck cleaner?
Look for a biodegradable cleaner that’s made for exterior wood. The best choice depends on whether you’re removing dirt, mildew, algae, grease, or tree sap, so always check that the cleaner is intended for the type of buildup you’re dealing with.