


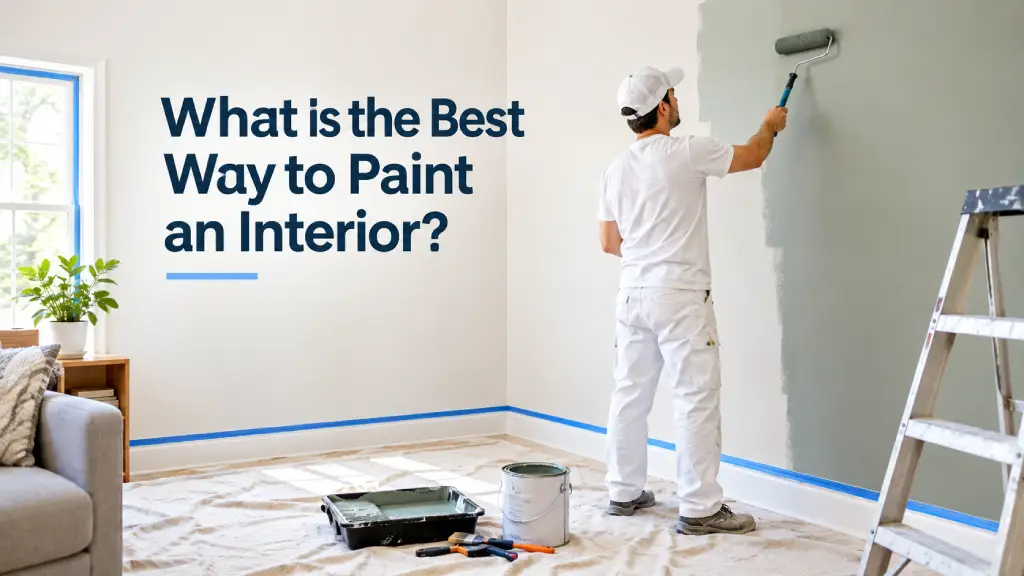
If you want to paint an interior, you probably want two things: a good-looking finish and a job that does not take longer than it needs to. But what actually makes an interior painting project efficient?
Is it using a roller instead of a brush? Spraying the walls? Choosing a fast-drying paint? Or simply getting more paint on the wall in less time?
The painting itself is only one part of the job.
A room with nail holes, peeling paint, old repairs, stains, or glossy surfaces may need much more preparation before the first coat even goes on. Furniture, trim, ceilings, multiple rooms, and major color changes can add another layer of planning.
The fastest way to paint the interior of a house is not always to apply paint as quickly as possible. It is to avoid work that has to be repeated.
In this blog, you will learn how to paint an interior efficiently, avoid common mistakes, and get a clean, lasting finish.
What Is the Best Way to Paint the Interior of a House?
If the goal is to paint an interior quickly, it is tempting to think the answer is simple: get the paint on the walls as fast as possible.
But is that really what makes a painting project faster?
Not usually.
The time spent actually moving a roller across a wall is only part of the job. Surface condition, preparation, work order, the tools used, and how many times something has to be corrected can all change how long the project takes.
So what is the best way to paint an interior?
Start by looking at the surfaces. Then prepare what needs attention, protect the areas that are staying as-is, and organize the work before the first coat goes on. From there, apply the paint using the right method, allow enough time for recoating, and inspect the finish before the room is put back together.
That order matters.
For example, painting over a wall with loose paint may feel faster because you skipped the repair. But if that loose area affects the new coating, you have not really saved time. You may have created another job later: scraping, sanding, patching, repainting, or touching up.
The same thing happens with the rest of the process. Poor protection can mean extra cleanup. A poor sequence can create drips or force unnecessary touch-ups. The wrong roller can make coverage harder. A rushed second coat can leave uneven areas that need attention later.
The point is not to make the painting process complicated.
It is to keep one part of the job from creating more work somewhere else.
But before any of that happens, there is one question worth answering: what condition are the walls actually in, and what do they need before the first coat goes on?
Which Interior Painting Preparation Steps Actually Matter?
Once you know what is wrong with the surface, the next question is: what needs to happen before paint goes on, and what will that step actually improve?
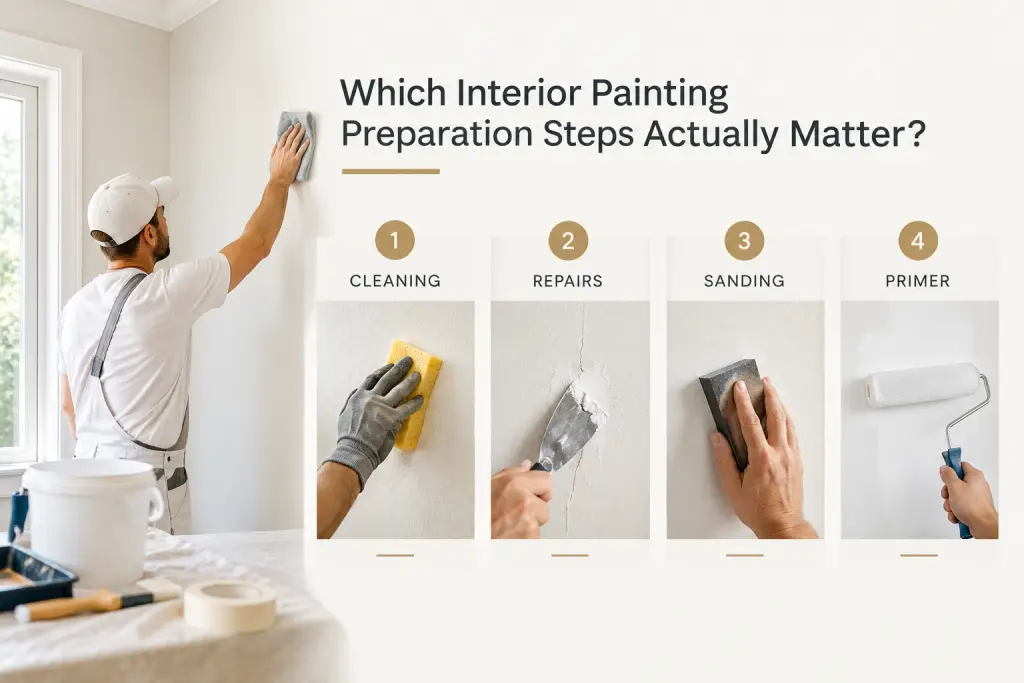
1. Cleaning: Give the Paint a Clean Surface
Dust, grease, kitchen residue, grime, and even leftover cleaning products can interfere with how paint bonds. Removing them gives the coating a cleaner surface to adhere to, which can help prevent early peeling or uneven results.
2. Repairs: Make Defects Disappear
Nail holes, dents, cracks, damaged drywall, and failed caulk do not disappear simply because they are covered with paint. Filling the damage, allowing it to dry, sanding it, and checking the area again helps create a surface that looks consistent once the new coat is applied.
3. Sanding: Improve the Surface Transition
It can remove loose material, reduce roughness, feather the edges of repairs, and dull certain glossy surfaces where appropriate.
Do not sand everything simply because sanding is part of painting.
The goal of this part is to prevent visible transitions, rough patches, or bonding problems from showing through later.
4. Primer: Solve Specific Surface Problems
New surfaces, certain repairs, stains, major color changes, or questionable adhesion may need it. Used in the right situation, primer can improve coverage, create a more uniform base, or help the new coating adhere properly.
So preparation is not about doing more work.
Each step should have a reason and a visible or functional outcome. If the surface does not need a particular step, adding it simply adds time without necessarily improving the finished result.
Is Rolling or Spraying Better for Interior Walls?
If a roller is often practical and a sprayer can be faster in the right conditions, how do you decide between them?
Start with the room, not the tool.
In an occupied home, rolling often makes sense because it requires less extensive masking and protection. You can work around furniture and other surfaces without turning the room into a full containment project.
In a large space, spraying may offer more efficiency. With fewer objects to protect and enough open area to work, the faster application can become worthwhile.
For standard interior walls, a roller provides predictable coverage and good control. It is also practical when you need to work carefully around existing finishes.
But the calculation changes when there is a large amount of masking or protection required. If preparing the room takes significant time, some of the sprayer’s application-speed advantage can disappear.
Detailed surfaces require another judgment. The best method depends on the substrate, finish, and level of control needed.
A Simple Decision
Choose a roller when you are painting standard walls in an occupied home and want manageable setup and predictable control.
Consider a sprayer when you have a large, mostly space and can protect surrounding surfaces efficiently.
Use a brush where edges, corners, trim, or detailed work require more control.
The best method is the one that saves time across the whole job, including preparation, application, protection, cleanup, and touch-ups.
How Do You Paint Interior Walls Without Creating More Work?
Painting faster sounds simple until a quick shortcut leaves you with drips, uneven coverage, or edges that need to be fixed later. The better approach is to make each pass count.
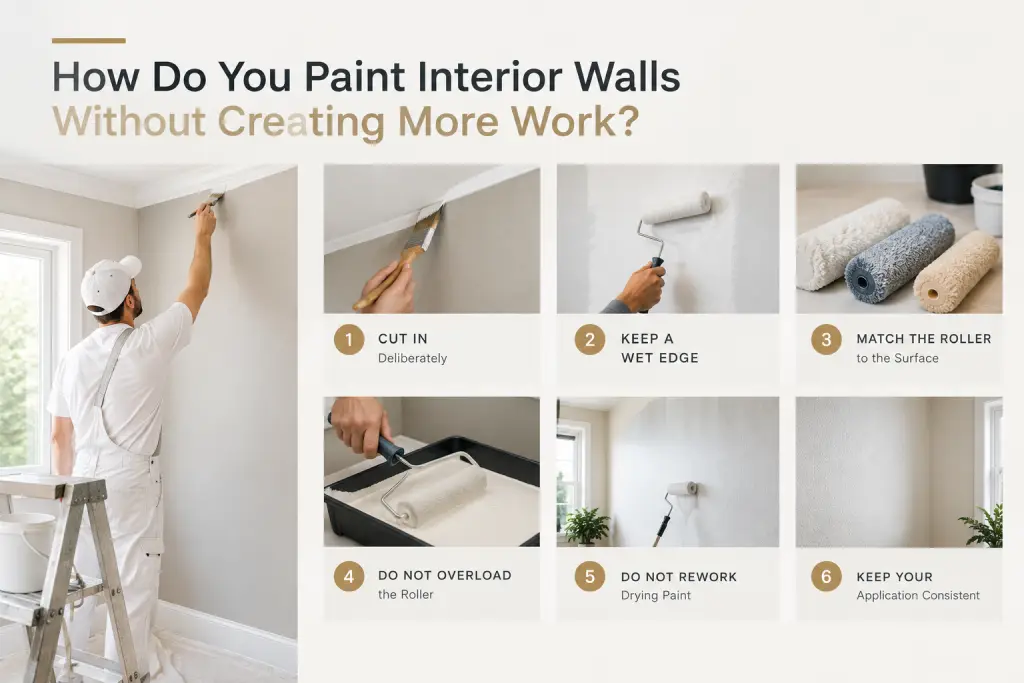
Cut In Deliberately
Work carefully along ceilings, corners, trim, and other edges before moving across the larger wall area. Keep the line controlled rather than relying on the roller to correct uneven edges later.
For example: if the ceiling line is uneven, rushing the cut-in can leave a visible wavy edge that has to be corrected after the wall dries.
Keep a Wet Edge
Work in manageable sections and overlap each section while the previous edge is still wet. This helps the paint blend together instead of leaving noticeable differences in coverage or sheen.
Match the Roller to the Surface
Check the wall texture before choosing a roller. Use a nap suited to the surface so the roller can hold and release the right amount of paint without creating an unwanted texture.
Do Not Overload the Roller
Load the roller evenly and remove excess paint before moving to the wall. If you see heavy buildup, drips, or splatter, you are likely carrying too much paint.
Too much paint does not mean faster coverage. It can simply mean more cleanup and more time correcting uneven areas.
Do Not Rework Drying Paint
Once an area starts to set, leave it alone unless there is a clear problem that needs correction. Repeatedly rolling over partially drying paint can disturb the finish and create visible marks.
If a section looks slightly uneven while it is still drying, give it time to finish before deciding whether it actually needs attention.
Keep Your Application Consistent
Use a steady pattern and maintain similar pressure as you move across the wall.
Check the surface from different angles as you work so you can catch thin coverage, heavy areas, or inconsistent texture before the paint dries.
Finish each section well enough that you do not have to come back and fix it.
That is where a painting technique actually saves time.
For a professional painting crew, these small decisions add up across the entire project.
Venezias Finishing Touch uses this same focus on controlled application, proper technique, and avoiding unnecessary rework to keep interior painting moving efficiently without creating extra mess or fuss.
How Many Coats of Paint Do Interior Walls Actually Need?
If the first coat leaves the old color showing through, applying another coat is not wasted time. It may be what gets the wall to the intended finish.
How many coats an interior wall needs depends on several things: the existing color, the new color, the paint’s coverage, the condition of the surface, whether primer was used, how much the colors contrast, and the product’s specifications.
For example, covering a light wall with a similar light color may require less coverage work than changing a dark wall to a much lighter shade. A repaired or uneven surface may also need more attention before the final color looks consistent.
The important thing is to judge the actual coverage, not simply count coats.
When Is Hiring a Professional Painter Actually the Faster Option?
If you have the time and the project is straightforward, painting it yourself can make perfect sense. A small room with sound walls, limited preparation, and manageable expectations may not justify bringing someone else in.
But what happens when the job gets bigger?
Several rooms, significant repairs, ceilings, trim, doors, high areas, or a tight deadline can change the calculation. Doors in particular often need more attention than people expect, since hinges, edges, and multiple coats can turn a quick task into a bigger one, our door painting services page breaks down what that process actually involves.
And there is another factor: how much of the work is new to you?
A professional may already have the equipment, process, and experience to handle preparation and application efficiently. That can matter when mistakes mean sanding, touching up, or repainting.
So the comparison should not simply be your DIY cost versus a painter’s quote.
Ask what you are actually exchanging.
DIY may save money, but it also costs time, equipment, preparation, learning, and potentially rework. If the project is small and simple, that trade-off may be worthwhile.
If several rooms need substantial preparation and you need a consistent finish on a deadline, professional help may be the faster overall option.
The right choice depends on what your time is worth and how complicated the project really is.
So, What Is the Best Way to Paint an Interior?
The best way to paint an interior is to start with the surface, choose the right method for the space, and plan the work around preventing rework.
If you are ready to paint, assess the walls, identify any repairs or preparation needed, decide whether rolling or spraying makes sense, and set your project plan before opening the paint.
Prefer to have a professional handle it? Contact Venezias Finishing Touch to discuss your interior painting project and get started.
Frequently Asked Questions
Q1. What is the fastest way to paint the interior of a house?
The fastest overall approach depends on the project’s size, surface condition, occupancy, and preparation requirements. The quickest application method isn’t always the quickest way to complete the entire project.
Q2. What is the best way to paint interior walls?
The best approach starts with assessing and preparing the surface, then using an appropriate roller, brush, or sprayer based on the room, surface, and desired finish.
Q3. Is it better to paint walls with a roller or sprayer?
A roller is often practical for standard interior walls, while spraying can be efficient in large, well-protected spaces. Setup and masking can make a significant difference in total project time.
Q4. How many coats of paint do interior walls need?
The number varies with the existing color, new color, paint coverage, surface condition, and whether primer is used. One coat is not necessarily faster if it requires extensive touch-ups or another coat.
Q5. What affects interior painting cost?
Interior painting cost depends on factors such as surface condition, preparation, room size, number of coats, trim and ceiling work, accessibility, paint selection, and labor.